Live Photo is a unique iPhone feature. But its uniqueness doesn’t mean you can’t enhance it in our tool!
How to turn a Live Photo into a short video
The creators of Live Photo may have been inspired by the Harry Potter Universe and its living photos. It looks pretty much the same as in the world of wizards: it’s a moving photo (the cam seized 1.5 secs before and after the actual moment of taking a pic) with a background sound. It looks like a voiced GIF, but the file has a totally different extension.
The tricky part is, a Live Photo may be played only on iPhones, so if you want to enjoy them on Android devices or laptops, you’ll have to convert them into videos.
Luckily, you can do it in a couple of taps: just open the needed Live Photo, tap the “Share” button and select “Save as video” option. Here we go - with a muggle’s short video instead of a mysterious moving picture. Now it’s time to enhance it.
Here how you can do that:
1. Upload video to the tool
Open neural.love video enhance in any browser and either drag and drop the video right on the home page, or hit the “Upload video” button and select a file from your personal device.
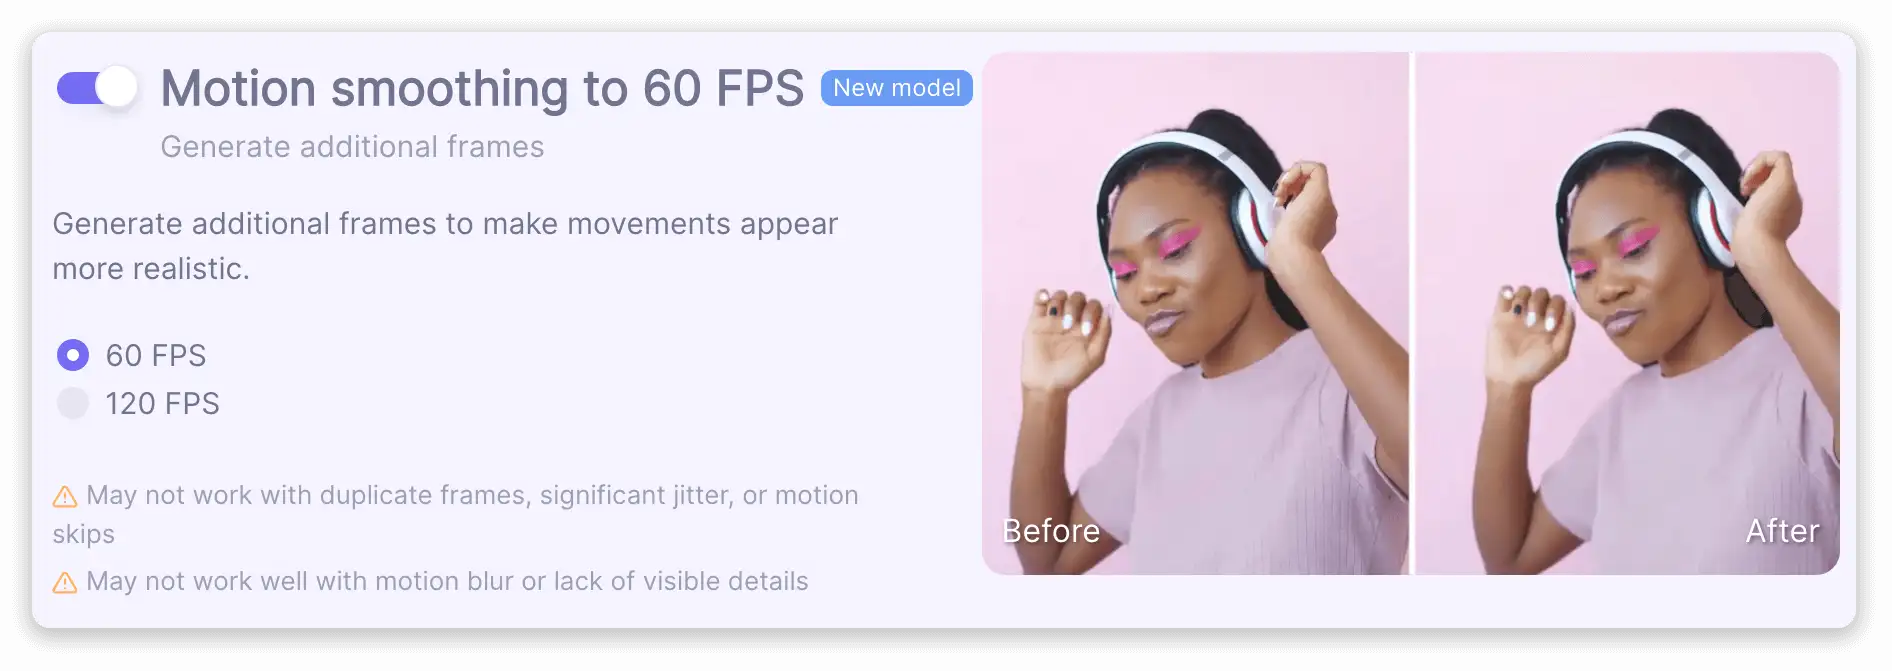
2. Smooth motion to 60 FPS
Turn on the option “Motion smoothing to 60 FPS”. FPS stands for “Frames per a second”, so the more it is, the smoother the video looks. Where do we get additional frames? Our AI generates them on the basis of the pattern which it recognizes in the video.
If you feel daring enough you may go even further and enhance the video to 120 FPS, but be ready that not all devices support such a high frequency rate.
If you feel like “playing” with additional options - please, do. When you are fully done, hit the “Start processing” button.
It may take time, but don’t worry - the whole process is going online, in the cloud, so there will be no residuals and cached files, draining up your phone’s memory.
In fact, you can even close the site and start doing something else - we’ll inform you when the process is over and send a link to the ready project to your email.
3. Download the enhanced video
Click on the player to see the result. You may also choose a “Comparison” mode to check the difference between “Before” and “After”. Call the drop-down menu on the “Download final result” button to choose the version to download.
And here is a comparison of the 24 fps source and 60 fps final. Looks much more real. Take a look at how realistically I’m swiping Instagram in 60 fps. Just W-O-W:
And a cute 60-fps alien is also here: