Hello, My name is Denis, and I have done some pretty noticeable restorations of old movies (you can read about them on The Verge, Wired, Gizmodo etc.).
Here, for example, is one of the most popular ones:
And here is an example of the work of neural.love (where I’m CEO and Co-Founder) that has been broadcasted in the Super Bowl advertisement. The black and white part is our restoration:
So, in this article, I decided to share the best practices and algorithms that my company, and I personally, use to achieve those stunning results. Note that this tutorial requires some basic knowledge of Abode Premiere or After Effects.
Preparation of the material: get rid of duplicated frames, denoise, de-flicker, reduce blur, and apply stabilization
The most important part is, of course, the preparation of the footage. Unfortunately, in the 100 years of its existence, some materials have met a better fate than others.
Take a look at this material with Theodore Roosevelt on Pelican Island in 1915 – it is pretty terrible to restore even with the power of AI; no wonders will happen after enhancement:
And now take a look at this stunning source, which could be enhanced perfectly:
AI needs details to work with, because the algorithm needs to “see” the clear picture, details of the objects present in it, etc. In other words, the amount of detail helps the AI understand what additional information could be drawn in the frame to improve its quality.
Restore actual FPS by removing duplicated frames automatically
In my personal opinion, the most “wow, it looks like time travel” effect that I’ve ever achieved was because of motion smoothing.
The humans in the documentary film became a lot more realistic once they were converted to 60 frames per second.
You can remove duplicated frames with this plugin: Duplicate Frame Remover 3 ($39.99) or more hardcore approaches (ffmpeg).
Wrong FPS problem
One hundred years ago, cameras shot movies at 14-18 frames per second. Then T.V. broadcasting happened in 24 frames per seconds and we had the internet era, and as a result, almost all old films digitized today don’t have an actual frame rate in their metadata.
Here is an example – this is what a 30 frame per second movie looks like:
And here is what the “FPS restored version” looks like, with 20 frames per second:
Not a big difference at a glance, right? Wrong!
The version with 30 frames per second contains a lot of duplicated frames. There are a few popular ways to achieve 30 frames per second artificially. I am just covering the most popular one – frame duplicating. So one day, someone, somewhere, decided to upload this material, and now we have each frame duplicated 2 or 3 times:
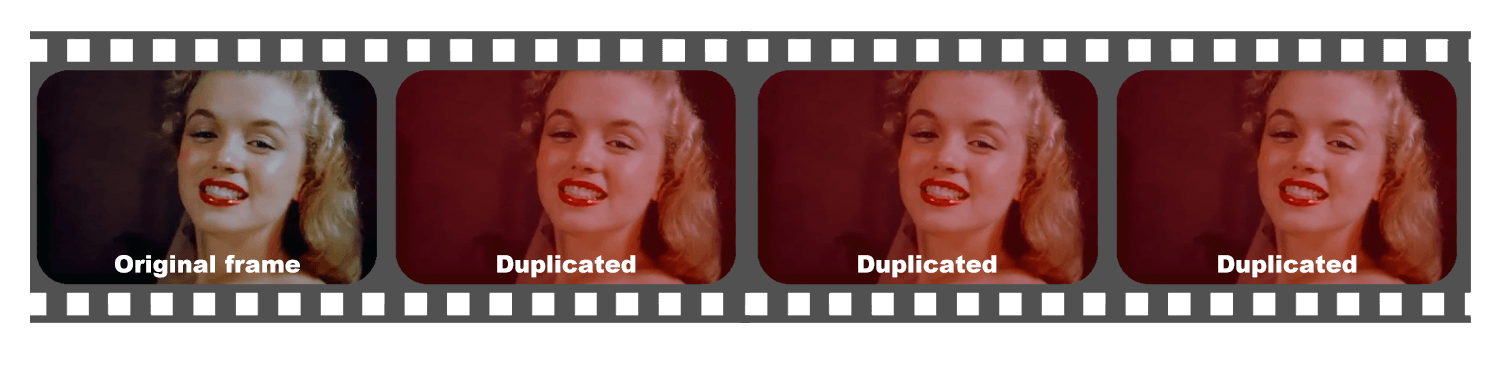
This is not vital if you’re just a viewer, but it’s critical for AI if we want to create the final result in 60 fps.
For example, here is Marilyn Monroe in 60 frames per second. Feel the difference – she just looks so “real”:
Denoise or “Noise Reduction”
After removing the duplicated frames, we can efficiently clear out some noise. Even though neural.love has the internal tech for this task, it is not a user-friendly solution yet (unless you’re a Linux junkie like us).
For you, it might be a good idea to consider this plugin: Neat Video ($130)
It has an almost friendly interface, it’s well covered by tutorials, and it is an effective tool for reducing noise in any footage.
After buying the plugin, consider checking this tutorial – it will provide a brief knowledge of the plugin usage:
NB: Denoise is a complicated task which requires an article of its own. But our recommendation would be to split the film into scenes, and apply different denoise profiles to each scene (because each camera and film had their own noise pattern).
After applying denoise, your results will look like this:
Much better, so let’s move on.
Deflicker
One of the issues that old cameras had is called “flickering,” and it was caused by mechanical issues in the camera adjustments. Each frame received a different amount of light due to different lengths of exposure.
To simplify things, let’s see what it looks like. Here’s an example of flickering:
You can use FlickerFree ($149) or GBDeflicker ($59) plugins to reduce the flickering problem. Neural.love is currently working on developing our own plugin, which will be much cheaper, but we need more time to polish it.
Update from 2024: GBDeflicker is no more, as the authors discontinued it. neural.love paused all plugin plans as we are mainly an ML R&D company, and scale to any new area is painful for our small team.
If you are looking for a free solution, consider this one, but it will require ffmpeg, which mainly works from the terminal and does not have any UI.
Deblur – resize footage to the real scale
Update from 2024: neural.love has made our attempt to resolve this task available as an open-source project. You can now access the free Python script “Video Original Size Estimator” that processes the video frames and displays the original resolution of the result (it is still not perfect). To understand how it works, please refer to the documentation.
This is the most “unscientific” part of this tutorial.
The source material could be in any size, from 128p to multiple-Ks, thanks to the unlimited performance of modern digital wonders. The problem is that the “information density” in the frames or “data saturation” could be quite low.
Why is this step important? When we ask AI to draw more details in each frame (to upscale a photo or footage), we need to feed the AI as many details as possible. It is crucial because upscale algorithms (you can read how they work here) require detailed patterns of pixels that could be redrawn.
Take a look at this picture of Night fishing in Hawaii, from 1948: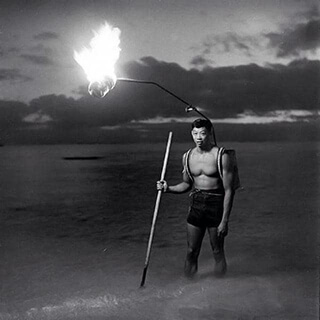
And then this version of the same picture: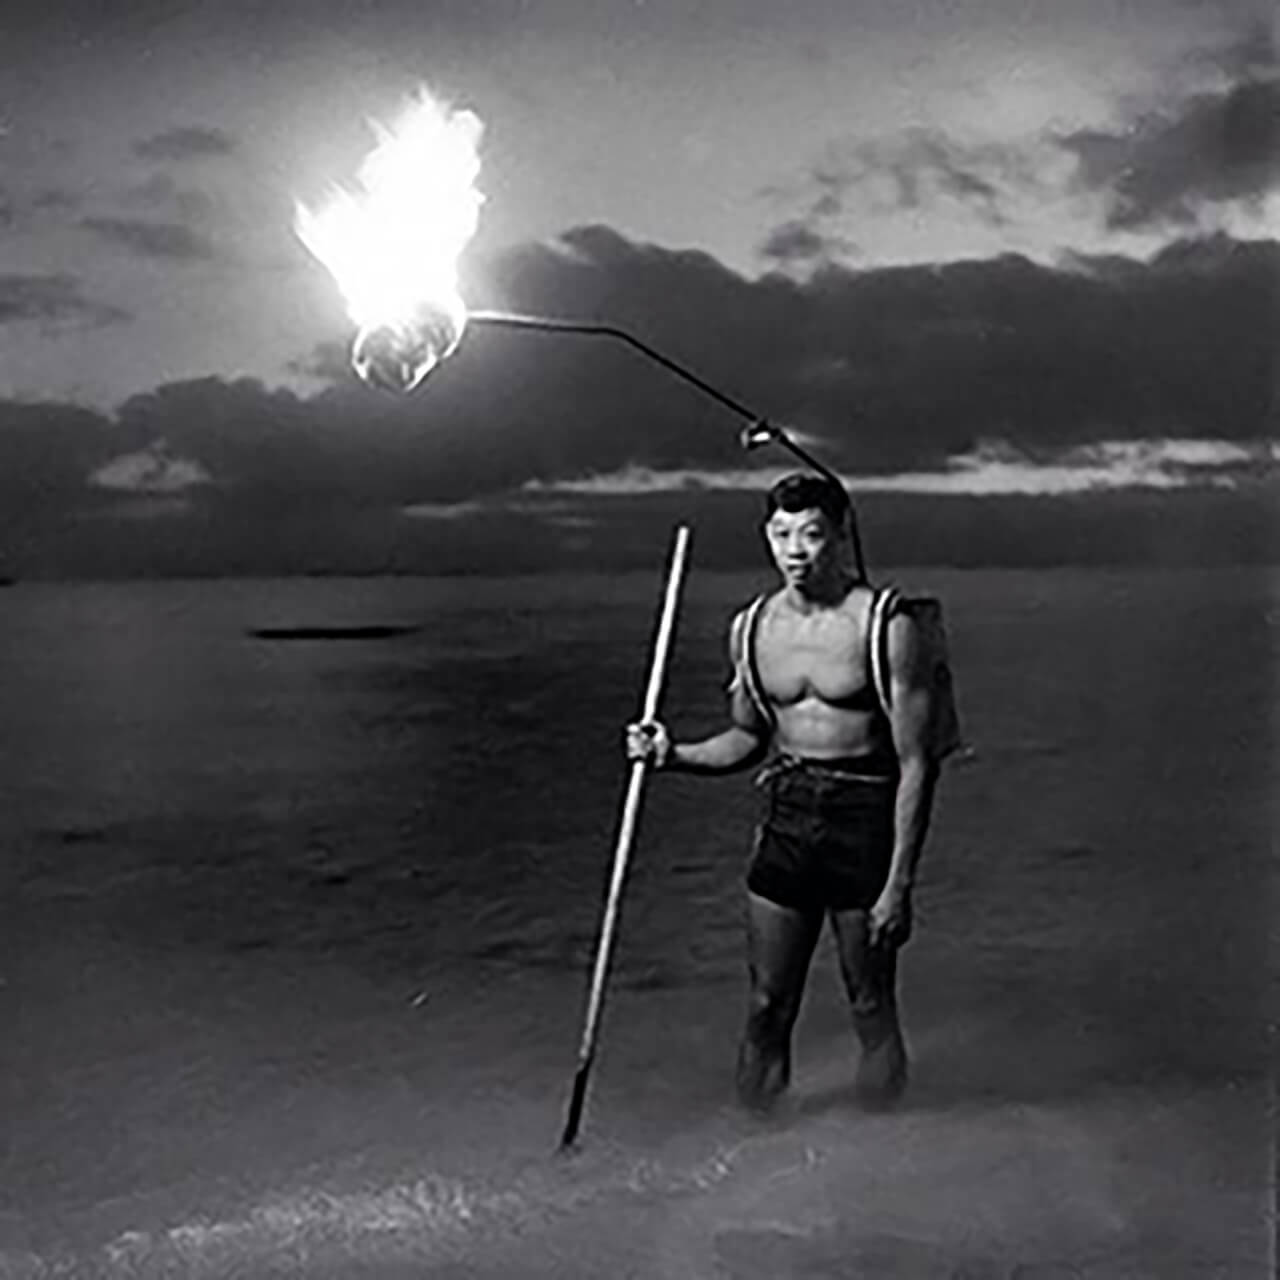
I have x4 multiplied the size of the source image, which added a lot of “blur” and other issues to the source image. No new details have been added because I have used just a “resize,” and no AI has been involved. This issue happens all the time with old footage available online.
Even if you have access to the footage source and to scanning facilities hardware (which is better for the final result), you can scan the source material almost at any dimension (even in 16k). However, the amount of data will still be limited – and information density will be relatively low.
But the solution is simple. While the neural.love R&D team has already experimented with “automatic” re-resizing back to the original “data saturated” picture dimensions; unfortunately, the best current solution is just to eyeball the clarity of the edges of the objects while resizing the entire footage.
It looks something like this:
(I wasn’t lying about the unscientific approach, but it works)
NB: In our experience, it is better to do multiple runs before the real footage size will be restored
So, the footage is almost ready. We can now move on to the last few steps and polish it.
Stabilization
This step will reduce the “shaking of the camera,” and it’s optional. There are a dozen image stabilization methods, and I will cover only the simplest one – Warp Stabilization.
You can follow this tutorial to apply it:
But as I said, it’s up to you how “hardcore” you want to get with the stabilization.
The final-ish result will look something like this:
Applying AI: Upscale, Colorize, make 60 frames, and AI slowdown
When preprocessing is done, we arrive at the simplest or the most complicated part of this tutorial – whether it’s simple or complicated will depend on what path you choose.
Simplest path: Cloud enhancement by neural.love
neural.love proposes one solution for media processing with AI – all you need to do is upload the source video here:
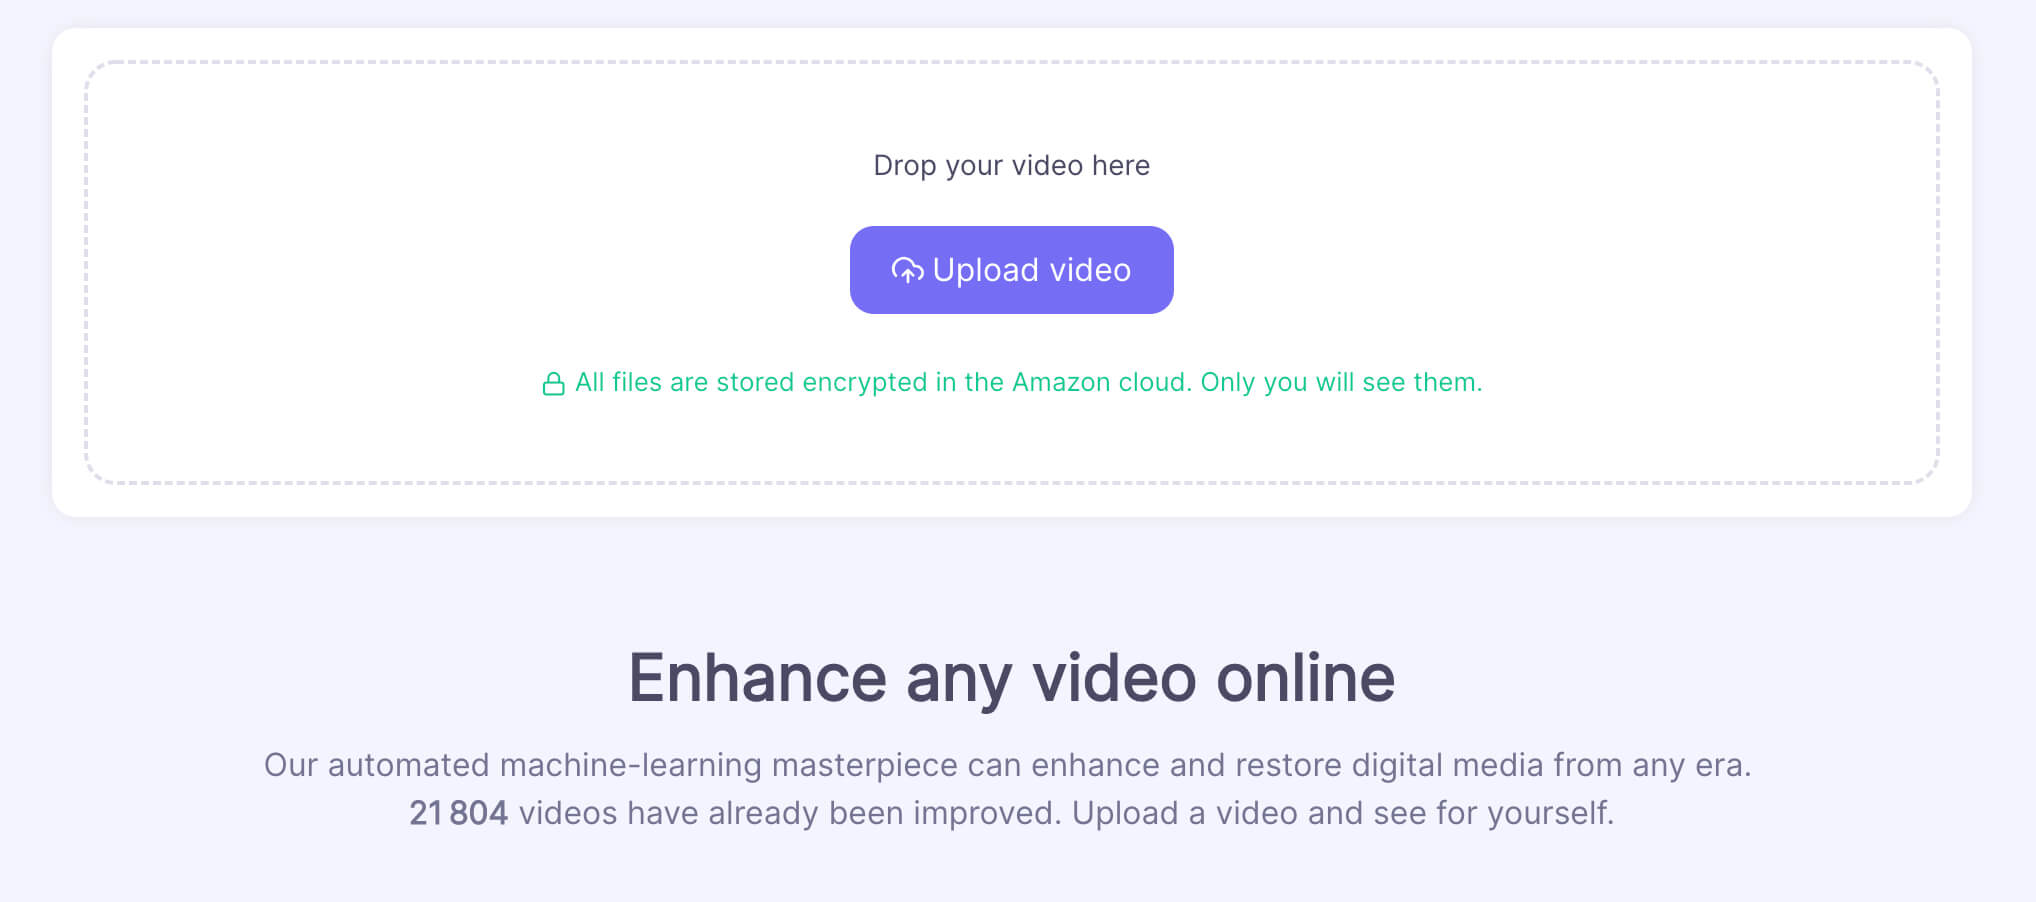
And to choose what AI filters you would like to apply:
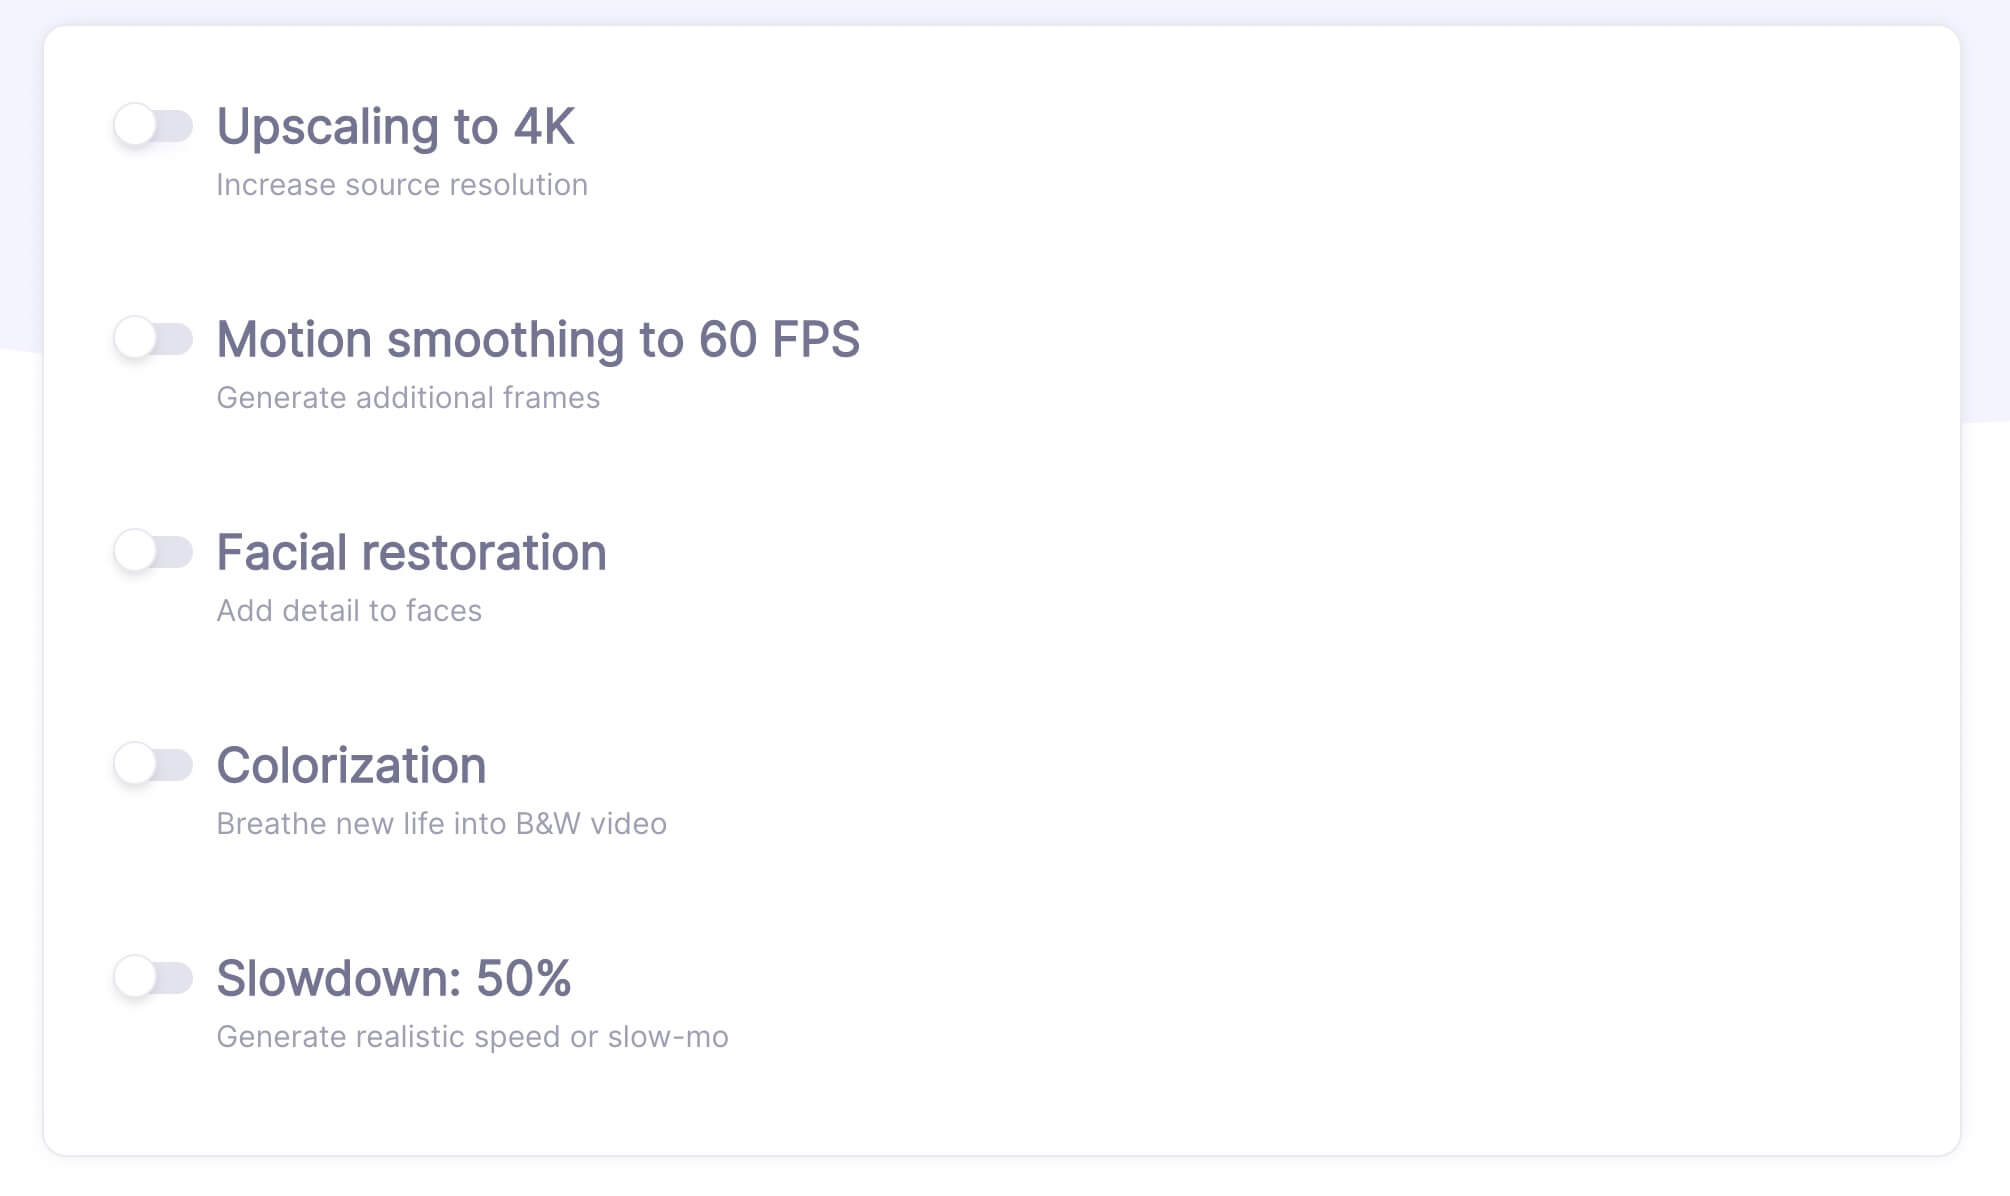
For example, let’s apply Upscale to 4K, 60 FPS, Facial Restoration and Colorisation.
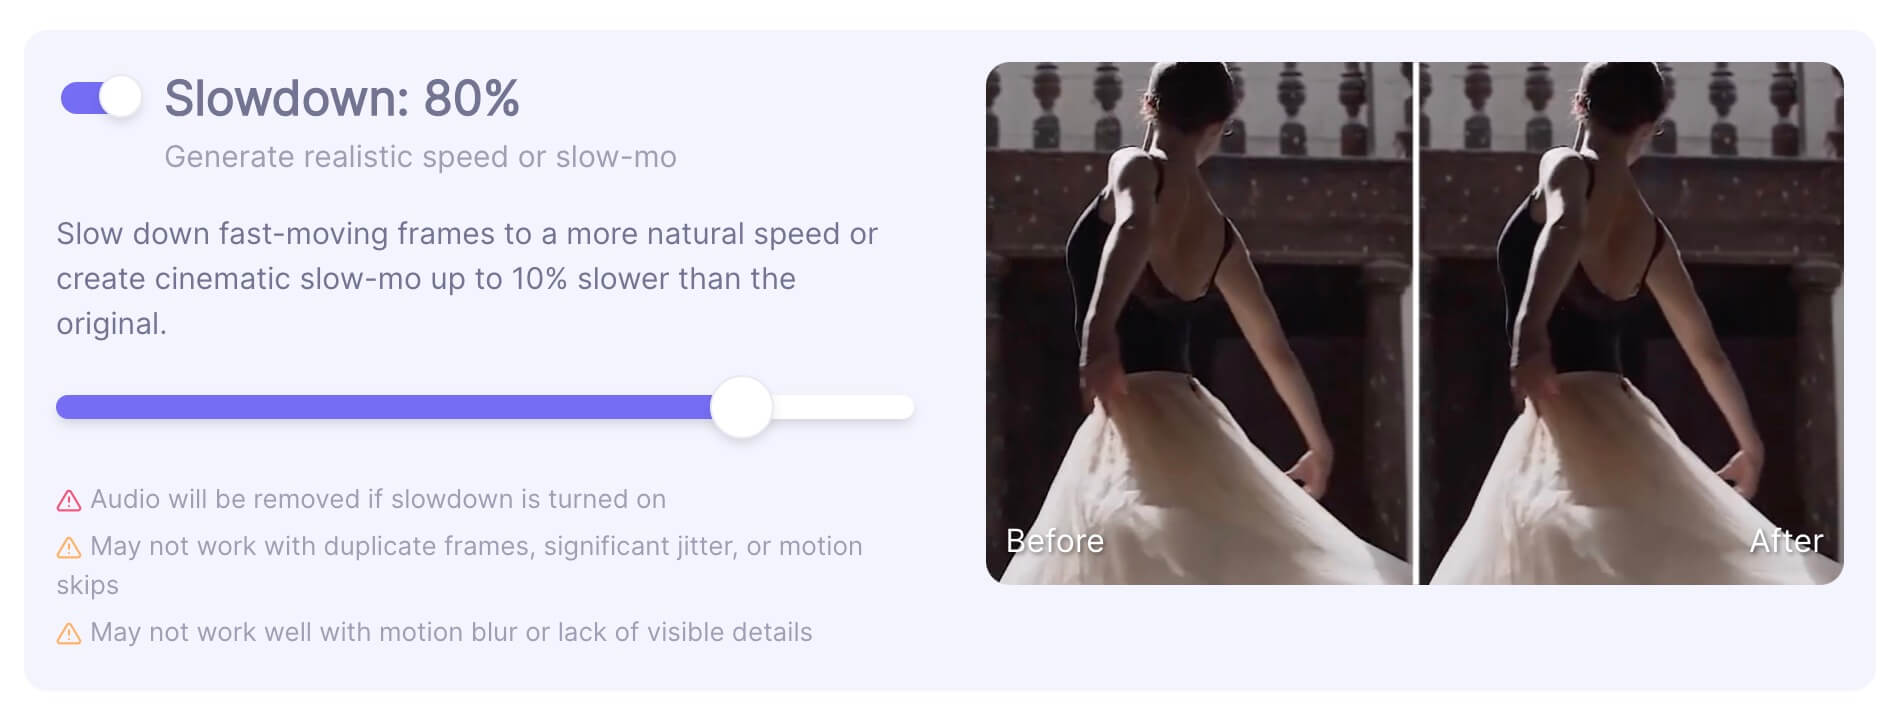
Additionally, because the source material is sped up a bit, let’s apply some gentle AI slowdown.
N.B. Before rendering the entire footage, let’s render a preview and verify that the demo quality satisfies your needs.
And voila! After around 20 minutes, we have something like this as a preview:
With the solution presented by neural.love, there is no need for powerful hardware, complicated driver installation, etc.; our AI works in the Private and Secure Amazon Cloud. Also, we continuously train and enhance our AI models, so they are the best they can be. Our algorithms are available at neural.love only.
Now, let’s discuss the complex path.
Complicated path: Open source or commercial solutions
Instead of choosing neural.love, you can go with open-source or commercial alternatives for the same tasks. This solution will require a powerful PC with a modern GPU-card, and some tech skills.
For that, I recommend that you check out these links:
Upscale – Open source could be done with BasicVSR++ or Topaz Video Enhance ($200).
60 FPS generation – DAIN or Flowframes (desktop software)
Colorization – Deoldify (repo is no maintains anymore by developer)
Facial Restoration – Remini App
There are many others, but I’ve just listed the products or repositories I’m familiar with.
And now, finally, your video is ready:
Note: It is up to you to decide whether you want to use AI colorization, or not, it is only the result of your artistic choices.
In addition, due to the compression used in this article, we can’t show you the final quality because the final ProRes file has a 9 Gb size, so we compressed it to make it “playable” in this article.