Your favorite video has a low resolution, looks grainy, it’s a real pain to watch it and a shame to post? Or do you want to convert it from 1080p to 4K? Try our AI filters and enjoy the result in no time.
How to change video resolution online?
The trick is, the resolution change is usually a one-way road: you can make it worse, but not better. Quite logically: you can compress the recording and make it less, but if it is already small and blurry — where will the program get the missing details to “fill in the blanks”?
Traditional software can’t. But Artificial Intelligence can. Before releasing our AI, we’ve fed it with thousands of different images and videos. As a result, smart technology can recognize a pixel pattern (you can control the strength of the imagination of the AI) and “alternate reality” by guessing the finest details on the basis of their shape and position.
That’s when neural.love service comes in just handy. Our AI filters work online, so you don’t have to download and set up any clumsy software and read lengthy manuals. Our service doesn’t take either precious memory of your device, or your time. It’s fast, user-friendly, and it doesn’t depend on your computer’s characteristics (you can use even an old and cheap one, or even mobile).
1. Upload a video
Open neural.love Video Enhance tool in any browser and hit the “Upload video” button to select a file from your device. You can also just drag and drop your recording.
2. Choose settings
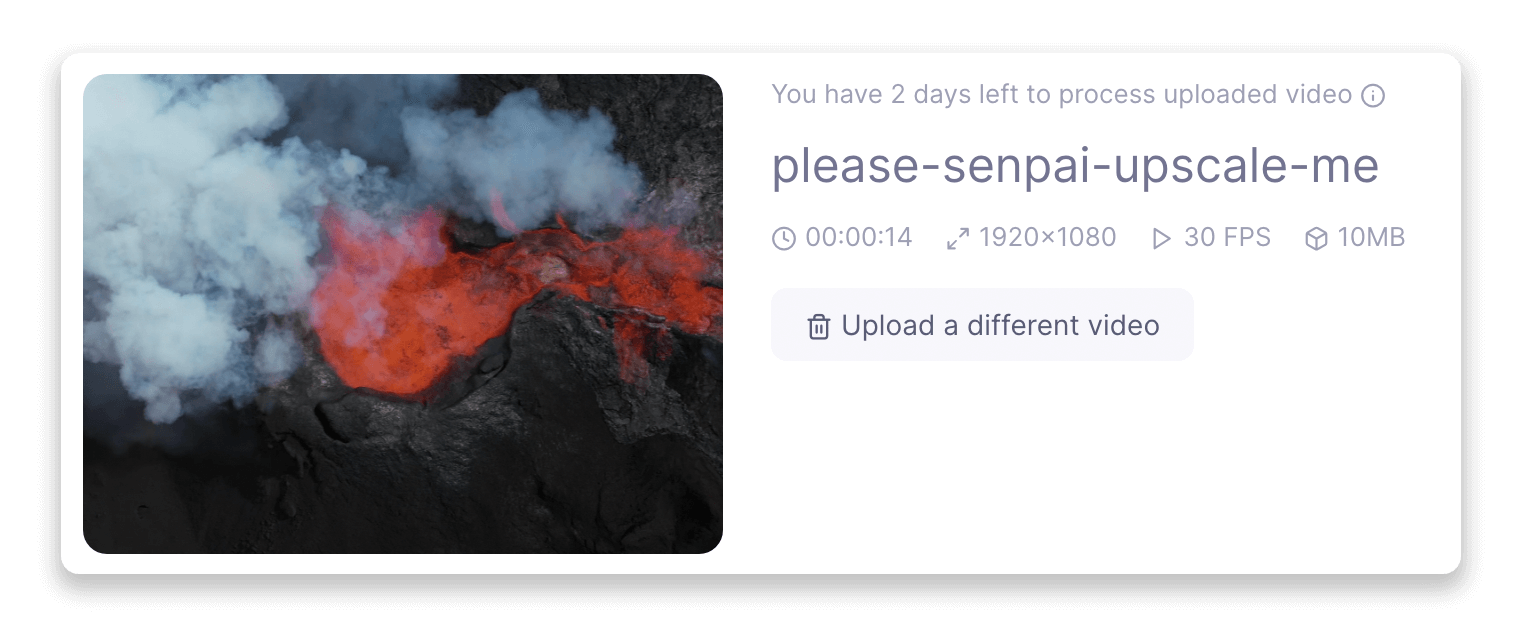
As soon as the video is uploaded, you’ll see its specs: timing, resolution, FPS and size.

Scroll down and set new ones.
We have different AI filters — and there are even more to come! But in this article let’s focus on upscaling.
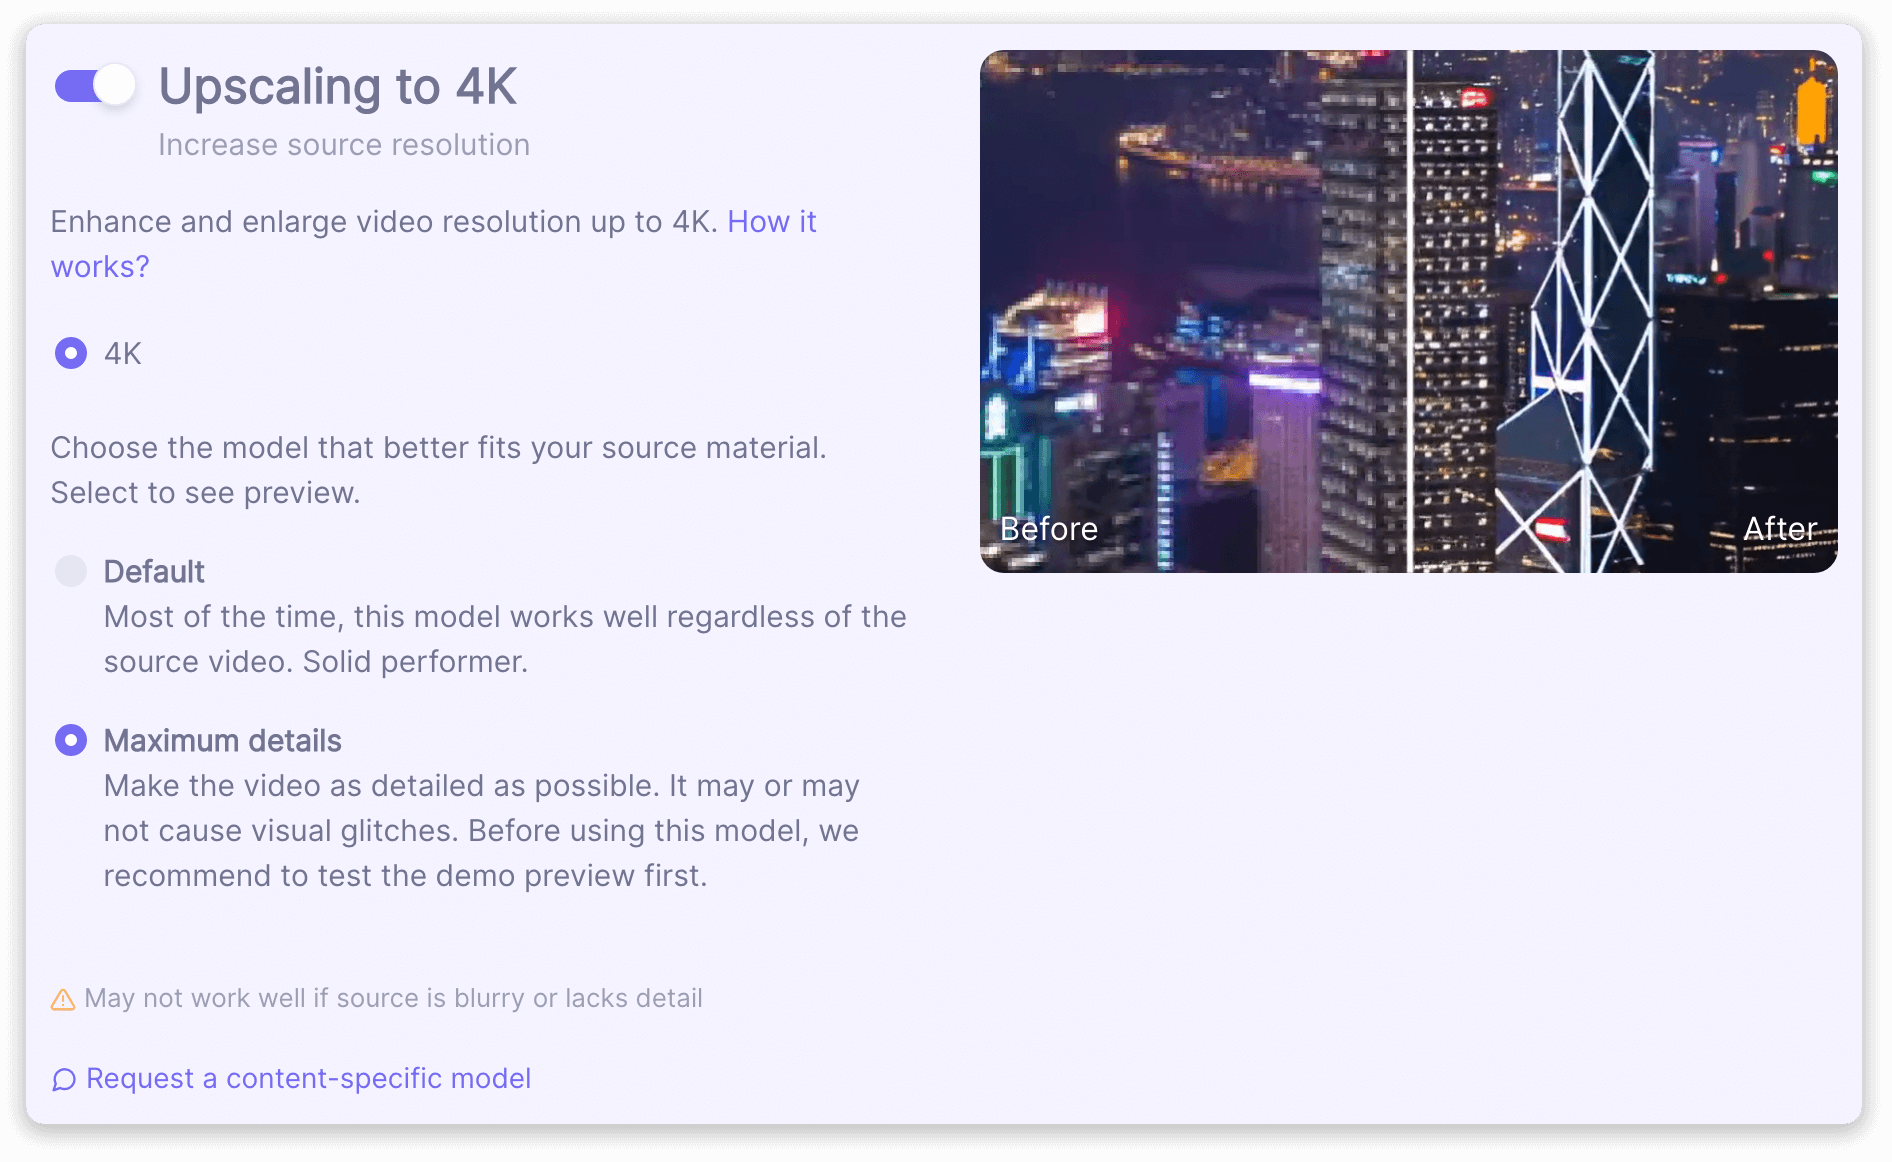
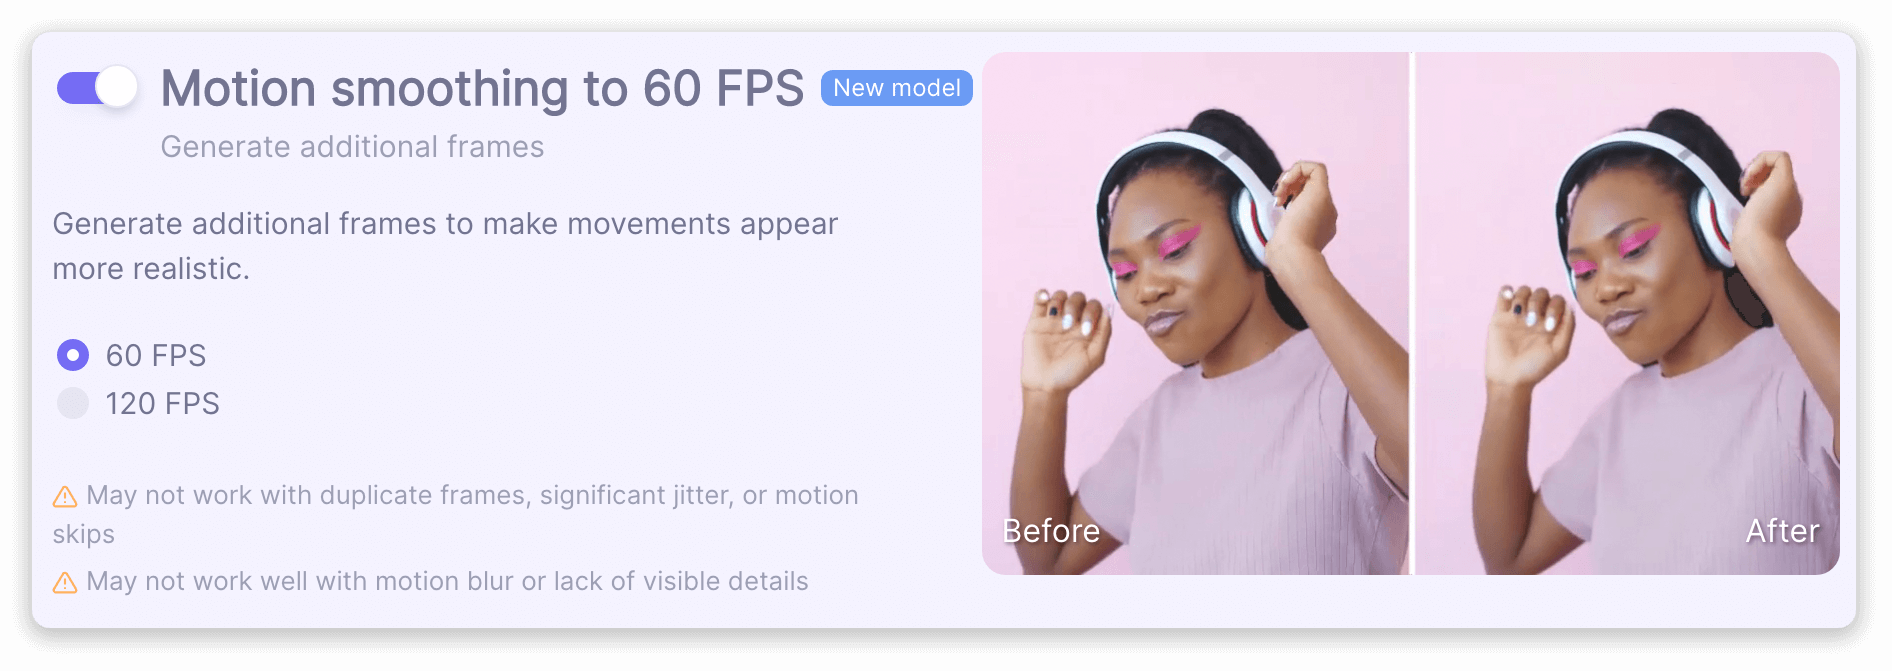
Make sure the “Upscaling to 4K” option is active and tick the “Maximum details” radio button (If you would like a more “detailed” output). Activate “Motion smoothing to 60 FPS” (or even select 120 FPS) — this feature adds frames and makes a video more realistic.


If your video is longer than 60 seconds, hit the “Render a preview” option. This feature creates a 20-second-long preview, so that you can assess the final result and decide whether you want to spend your credits on it.
When you are fully done, click the “Start processing” button. Be aware that the final price may vary from the one in the screenshot.

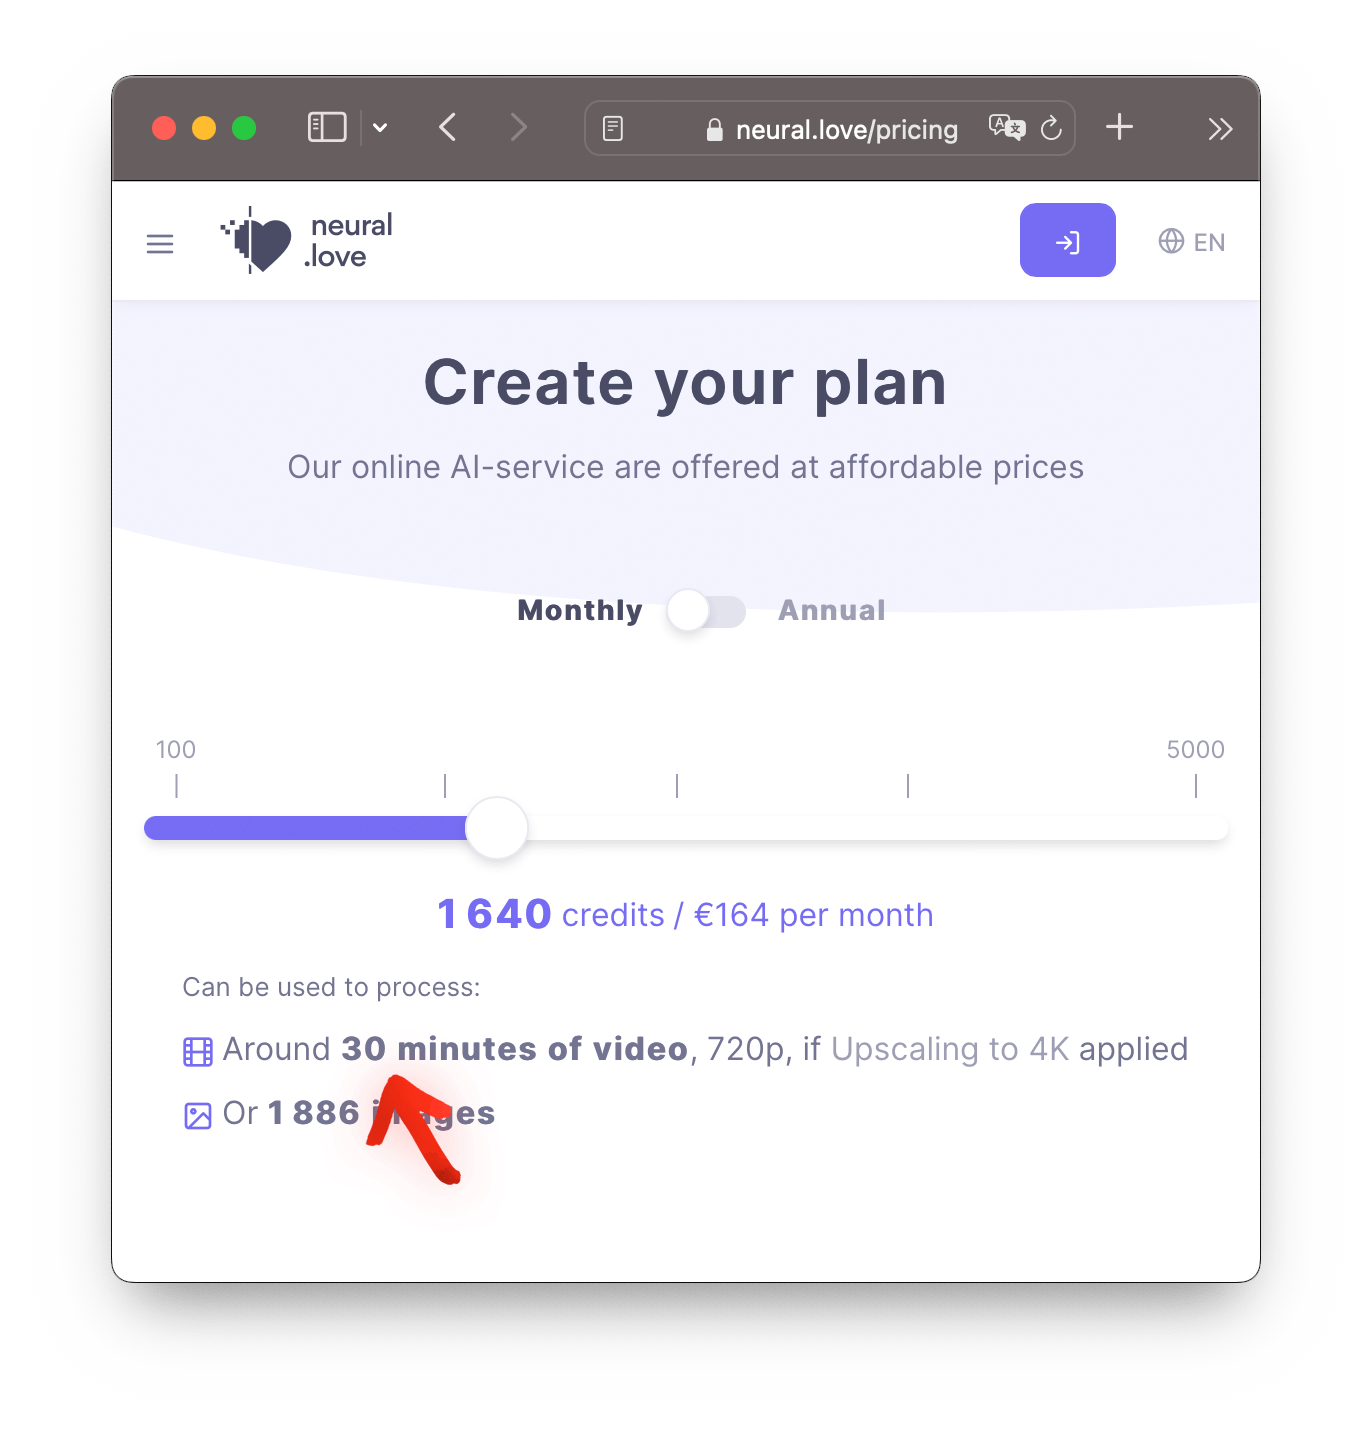
If you have less credits than you need, you’ll be transferred to the screen where you can add more. Choose the plan you like or create your own one.

After top up start the AI-processing. Be patient, the whole process may take up to a couple of hours, or even days — but Rome was not built in a day, perfection needs time.
3. Save the result
At the final step you can watch both versions, “before” and “after”, and even compare them.
After enjoying the preview, save the upscaled video to your device. The output is available in a MOV format as well as in a professional ProRes 422 codec.

If you don’t want to wait till the end of the process, don’t worry — close the tab and focus on other chores. As soon as the project is processed, we’ll send a link to it to your email.
And then it’s done! Hey, your volcano’s in 4K!
If you want to know more on how we train our AI algorithms, don’t hesitate to read this article.
